In this tutorial, we will create a workspace in the Code Builder of Origin, add a source file with a new function, then build, test and save the workspace file. Also, we will configure the appearance of the Code Builder.
Minimum Origin Version Required: Origin 2016 SR0
This tutorial will show you how to:
A workspace is a collection of files that can be opened by a single menu option (File: Open Workspace...) in Origin's Code Builder. Any text file can be a part of the collection. They do not necessarily have to be source code files; they could be notes, for example.
All files opened in the Multiple Document Window by a workspace can be edited and saved individually. In addition to files being opened in the Multiple Document Window, source code files can be added to the Workspace Window with the File: Add to Workspace menu option.
By including source code files in the Workspace Window, you can build individual or multiple files with the appropriate menu option or toolbar button. Header files can be referenced within source files and do not need to be loaded in the Workspace Window or even open in the Multiple Document Window.
Since you can save a workspace with a new name, you can have multiple workspace files. However, only one workspace file can be opened at a time.
To create a workspace:
void bar()
{
	printf("Hello World!\n");

}
bar
Origin responds by typing Hello World!
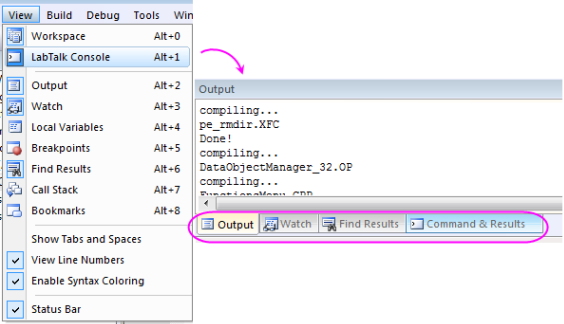
The figure shows the foo.ocw workspace file containing a single source file, foo.c, in the Multiple Document Window. The file has been added to the Workspace Window. The Output Window shows that the file has been compiled. The source file contains a single function "bar( )" which is listed in the tree structure of the workspace.

The Code Builder workspace has six subfolders: Apps, Project, System, Temporary, User [AutoLoad] and User. Files added by user, such as foo.c that you just added, are placed in the User subfolder. Origin, itself, uses Origin C for many analysis routines. When these routines are accessed, the Origin C source files are loaded into either the System subfolder or the Temporary subfolder in the Workspace. The Project subfolder is reserved for files that are saved and loaded with the Origin project. This aspect of attaching a file to the project is described in a separate tutorial.
If you right click on the Origin C Workspace folder, the shortcut menu has a Build on Startup option. When this option is checked, the last workspace you saved will be loaded when you restart Origin. All source files in the Workspace will be built and all functions in the source files will be available for immediate use.
For information on building individual source files on startup by including information in the ORIGIN.INI file, please view Build on Startup
This concludes the tutorial on the Code Builder Workspace.
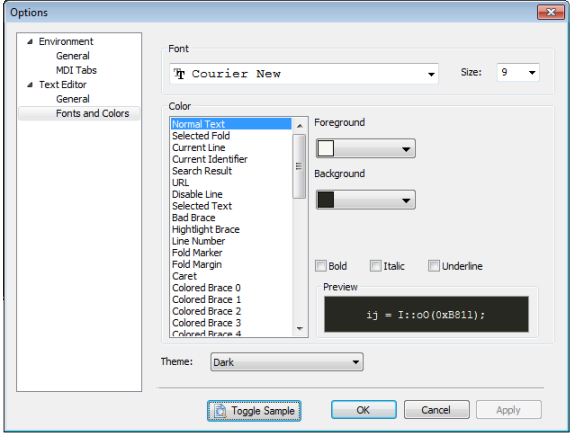
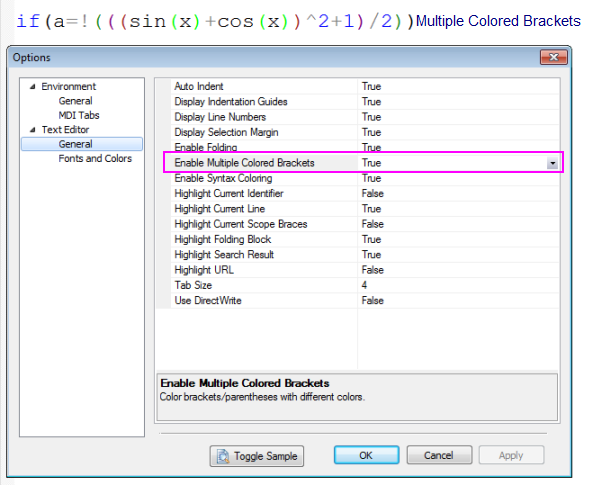
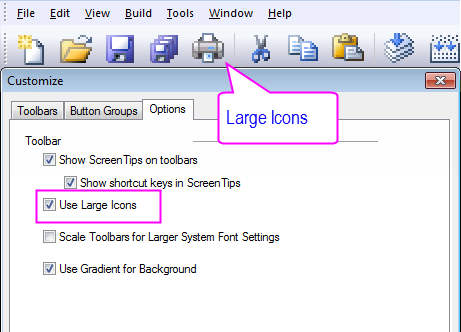
User can configure code builder interface including the fonts and colors, the brackets color, the icons size and so on.
To create an App package, you need to combine the use of Apps folder in Code Builder workspace and the Package Manager. Following steps will show you how to create the package for an App.
1.On the Standard toolbar, click the Code Builder button ![]() to open Code Builder.
to open Code Builder.
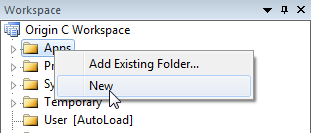
2.Make sure Workspace window is open, if not you can select menu View: Workspace to open it. Right click on the Apps folder in Origin C Workspace and select New to add a new folder.
3.Right click on the newly added folder Untitled and select Rename to name the folder as "MyApp".
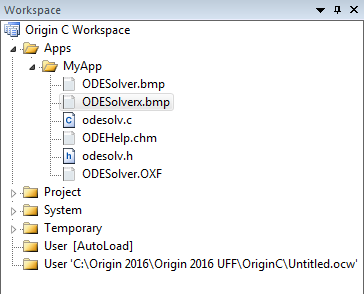
4.Right click on MyApp folder and select Add Files... to open Add Files to Workspace dialog. Browse to select all prepared files and click Open button to add them to current folder.
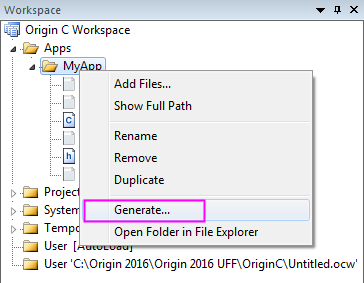
5. Right click MyApp folder to select Generate and you will be directed to the Package Manager.
6.You can find the added files in the lower panel of Package Manager. Now you can input some basic information about MyApp under Package node as shown below. To make the App display as an icon in App Gallery, you need to prepare a 32*32 (in pixels) bmp image and input its name with extension in Icon edit box. Then you can input some LabTalk script in Launch Script field to tell Origin what to do when launching the App.

7.Select File: Save to save the package as an OPX file. Later you can drag and drop this OPX file into Origin workspace to install this App.
The Hotkey in Code Builder make the coding work efficiency. The following parts introduce the useful hotkey one by one.
Firstly, please download this zip file, extract it and then browse to the \Origin C Examples\Programming Guide\Practical Examples subfolder to add AccessMatrix. c by right-clicking the user folder and select "Add Files"
Ctrl+F2 add a Toggle Bookmark at the specific line. You can use hotkey F2 to go to next Toggle Bookmark.
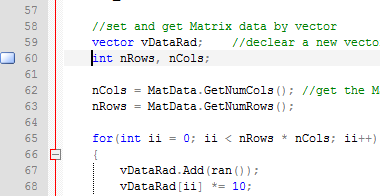
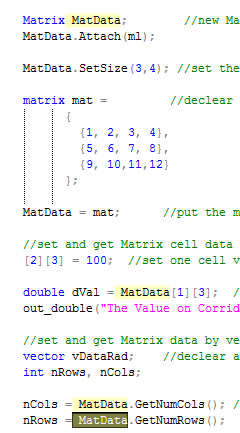
Ctrl+F3 highlight all the select word ("MatData") in code. You can use hotkey F3 to go to the next highlighted "MatData".
This hotkey help you to go to matching brace in the code.
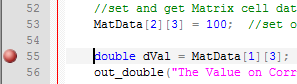
This hotkey add a Toggle Breakpoints at the specific line.
This hotkey Ctrl+/ comment the selected lines, while Ctrl + Shift + / uncomment them.
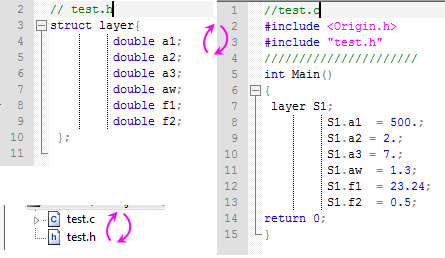
After constructing the *.c and *.h files with the same name, you can use hotkey Ctrl+Alt+O to switch between them.
Please refer to Hotkeys in Code Builder for more hotkeys information.